Running TestFlight before App Store submission feels like due diligence — you've had testers poke at every screen, crashes are logged, and the build feels solid. That confidence is real, but it's answering the wrong question. TestFlight tells you whether your app works. App Store Review tells you whether your app is allowed — whether your metadata matches your functionality, your screenshots reflect what's actually in the build, your privacy disclosures are accurate, and your in-app purchases are configured the way Apple expects. Those are two separate gates, and passing the first one tells you almost nothing about the second.
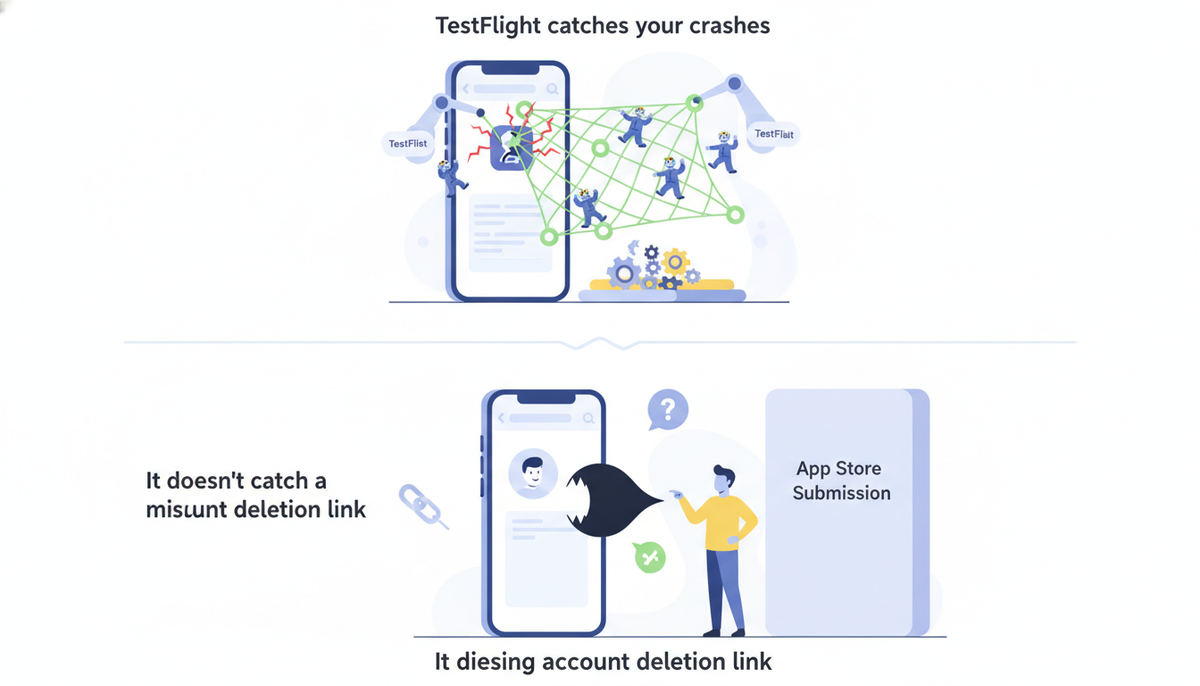
This gap is where avoidable rejections come from. A team ships three TestFlight builds, fixes every bug testers flag, then submits to the App Store and gets bounced on Guideline 2.3.1 for a screenshot showing a feature behind a paywall that isn't disclosed, or Guideline 5.1.1 for a missing account deletion path. None of that shows up in a crash report. None of it shows up in TestFlight feedback either, because external testers aren't reviewing your app for App Store Review Guidelines compliance — they're reviewing whether it's useful.
This article covers both halves: how to run TestFlight properly so you catch real functional issues before you burn review cycles, and — more importantly — the compliance checklist you need to run in parallel, since TestFlight won't run it for you. If you want to see what a full pre-submission compliance pass looks like end to end, the sample report shows the actual output format.
What TestFlight Actually Tests — and What It Doesn't
TestFlight exists to answer one question: does this build work on real devices, for real users, outside your controlled dev environment? It does that job well. What it doesn't do is check whether your app is allowed on the App Store — that's a separate, much stricter process, and conflating the two is where most avoidable rejections come from.
What TestFlight catches
TestFlight distributes builds to internal testers (up to 100, no review needed) and external testers (up to 10,000, gated by a lightweight Beta App Review). Both groups give you:
- Real-device crash reports and diagnostics — symbolicated crash logs, hang reports, and performance metrics you can't fully replicate in a simulator.
- Tester feedback via screenshots and comments submitted directly through the TestFlight app, tied to a specific build number.
- Real-world environment variance — different iOS versions, device models, network conditions, and permission states that surface bugs your own test matrix misses.
- Build stability over time, since you can push incremental builds to the same test group and watch whether issues recur or resolve.
This is genuinely valuable. It's the closest thing to production conditions you get before your app is public.
What TestFlight can't catch
Beta App Review — the check a build goes through before external testing — is deliberately lightweight. Apple describes it as primarily screening for objectionable content and basic policy violations, not the full App Store Review Guidelines audit your submission gets later. That means TestFlight gives you zero signal on:
- Metadata accuracy — whether your App Store description, keywords, and promotional text match what the app actually does (Guideline 2.3.1).
- Screenshot correctness — whether your screenshots show features, paywalls, or UI states that no longer exist in the current build.
- Privacy nutrition label accuracy — whether your declared data collection practices match your actual SDKs and network calls, including third-party ones like Expo's permission descriptions or analytics providers.
- IAP and subscription configuration — whether your in-app purchase products, pricing, and RevenueCat or App Store Connect metadata are fully set up and linked before submission, a common source of Guideline 2.1 rejections.
None of this is a TestFlight gap you can close by running more beta cycles. It's a separate checklist that has to be run against your actual submission — metadata, screenshots, privacy answers, and IAP setup — independent of whatever TestFlight told you about stability.
How Long to Run TestFlight Before You Submit
Internal testing first
Start with internal testers — up to 100 people on your App Store Connect team, added instantly, no Beta App Review required. Builds go live within minutes of processing, which makes this your fastest feedback loop. Use it for the obvious stuff: crashes, broken flows, onboarding friction, and anything that would embarrass you before a wider audience sees it. If you're a solo developer, recruit a few outside testers as internal users via their Apple ID rather than relying only on yourself — you already know your app's flows too well to spot what a new user trips over.
External testing and Beta App Review timing
Once internal testing is stable, move to external testers — up to 10,000 people via a public or group link. External builds require Beta App Review, a lighter check than full App Review but still a real one: Apple screens for crashes, broken functionality, and obvious metadata problems. Budget 24-48 hours for that first review. Subsequent builds in the same testing group usually clear faster, sometimes near-instantly, but don't plan around that — Apple doesn't publish an SLA and review queues fluctuate.
Build expiration and how many builds you'll burn
TestFlight builds expire 90 days after upload. That's generous for a single testing cycle but tight if you're iterating slowly on a first release — plan your timeline so you're not scrambling to re-upload and re-review a build right before submission just because the old one expired. Each meaningful fix should go out as a new build to testers, so expect to burn through several builds between your first internal upload and the one you actually submit.
Putting it together: a realistic first-release timeline is one to two weeks minimum. Week one covers internal testing and fixing what breaks. Week two covers external testing, including the Beta App Review wait and time for testers to actually open the app and report back — people don't test on your schedule. Compress this and you're submitting on assumptions instead of evidence, which is exactly how avoidable rejections happen. If you want a sense of what "evidence" should look like before submission, the sample report shows the kind of pre-submission check worth running alongside your TestFlight window.
Setting Up TestFlight the Right Way
App Store Connect setup and export compliance
Upload your build through Xcode's Organizer or Transporter — both push to App Store Connect, where it processes for anywhere from a few minutes to an hour before it's available to testers. During upload you'll answer the export compliance questionnaire: whether your app uses encryption, and if so, whether it qualifies for an exemption (standard HTTPS/TLS usually does). Answer this wrong or leave it unanswered and your build sits in "Missing Compliance" limbo instead of reaching testers. If your app has any IAP or subscription involved, this is also a good point to double-check your entitlement setup is complete — the RevenueCat missing metadata guide covers a specific gap that trips up apps using RevenueCat for subscriptions.
Writing test information testers will actually read
App Store Connect gives you a "What to Test" field per build — use it. Vague notes ("bug fixes") get you vague feedback or none at all. Specific notes get specific testing: "Test the new onboarding flow, especially the location permission prompt on step 3" tells testers exactly where to focus. Include known issues you're already tracking so testers don't waste time reporting them, and call out any account or login details they'll need. Testers are volunteers with their own apps to use — the easier you make it to know what matters, the more useful feedback you get back.
What to ask testers to check besides "does it crash"
Crash reports are the easy part — TestFlight surfaces those automatically. What it won't catch is a permission prompt that reads fine to you but confuses a stranger, or a screen that renders wrong on a device you don't own. Explicitly ask testers to read every permission dialog word for word and flag anything unclear, since vague permission strings are a recurring trigger under Guideline 5.1.1 (Data Collection and Storage) — reviewers reject apps where the stated reason for a permission doesn't clearly match what the app does with it. If you're on Expo or React Native, this is worth extra scrutiny: the Expo App Store permission description guide walks through exactly how to phrase these strings so they pass review the first time. Also ask testers to check account deletion and data export flows if your app collects any personal data — reviewers test these paths directly, and a missing or broken deletion flow is an instant rejection.
The App Store Review Issues TestFlight Won't Catch
TestFlight tells you whether your app runs. It says nothing about whether Apple will approve it. Every year, apps that sailed through a beta with zero crashes get rejected on submission — because App Review checks things TestFlight was never built to check: metadata accuracy, privacy disclosures, account deletion, and purchase configuration. These are the four categories that eat the most first-submission rejections, and none of them show up in a crash log.
Metadata and screenshot mismatches
App Review compares your screenshots, description, and preview video against the build you actually submitted. If your screenshots show a feature you cut two sprints ago, or a UI you redesigned after your last screenshot shoot, that's a rejection under Guideline 2.3.3 (Accurate Metadata) — not a bug, a paperwork mismatch. This happens constantly with indie apps because screenshots get captured once, early, and never revisited. TestFlight testers don't compare your App Store listing to the build; they just use the app. Before you submit, put your current build side by side with every screenshot and every line of the description and confirm they match what ships.
Missing account deletion (Guideline 5.1.1(v))
If your app supports account creation, it must support in-app account deletion — not a "contact support to delete your account" workaround, not a web-only deletion flow. Guideline 5.1.1(v) requires the deletion path to be reachable from inside the app, and reviewers test it directly. A functional TestFlight build with a working login flow tells you nothing about whether deletion exists, because most testers never look for it. This is especially common in Expo apps where auth is wired up fast via a template but account deletion gets treated as a later task. If you're on Expo, our guide to implementing account deletion walks through the specific screens and API calls reviewers expect to find.
Privacy nutrition label drift
Your App Privacy answers in App Store Connect are a declaration of what your app collects — and they drift out of sync with reality faster than most teams notice. You add a crash reporting SDK, a new analytics event, or an ad network, and the nutrition label doesn't get updated to match. TestFlight won't flag this; the app still works fine. But App Review does cross-check declared data types against observed network behavior, and undeclared collection is a rejection (and, if caught post-approval, worse). Before submission, re-audit every third-party SDK in your build against your current App Privacy answers, not the ones you filled in at launch.
IAP and subscription metadata gaps
In-app purchases and subscriptions need complete metadata in App Store Connect — pricing, localized display names, subscription group structure, review screenshots for each product — before Apple will review them at all. A TestFlight build can process purchases correctly in the sandbox while the corresponding App Store Connect product is still missing a screenshot or a localized description, because sandbox testing and metadata completeness are entirely separate systems. This is one of the most common gaps we see in apps using RevenueCat, where the SDK integration works perfectly but the underlying product metadata was never finished. Our breakdown of RevenueCat missing metadata issues covers exactly which fields get missed and how to check all of them before submission.
Turning TestFlight Feedback Into a Pre-Submission Checklist
By the last week before submission, you're juggling two different kinds of feedback: what testers reported and what Apple's guidelines require. Treating them as one pile is how compliance issues slip through — a tester says "looks good to me," and that gets read as a green light for everything, including the things testers were never checking in the first place.
Separate functional bugs from compliance risks
TestFlight feedback — crash reports, tester comments, TestFlight's own crash logs — tells you about functional risk: does the app work. Compliance risk — metadata accuracy, privacy declarations, account deletion, IAP setup — is a separate axis entirely, and it doesn't show up in a tester's bug report because testers aren't reading the App Store Review Guidelines while they use your app. Run these as two distinct triage passes. Bugs go in your normal issue tracker and get fixed like bugs. Compliance risks need a checklist pass against the actual guideline text, done by someone who's reading Section 5 (Legal) and Section 2.3 (Accurate Metadata) with your build open next to it.
Run a manual pass against the App Store Review Guidelines before you submit
The manual compliance pass is the part teams skip because it's tedious and doesn't feel like "real" QA — there's no crash to reproduce, no stack trace to chase. But it's exactly where the four issues above live: mismatched screenshots, a missing deletion button, a stale privacy answer, an incomplete IAP listing. Structure it like an audit, not a vibe check — go section by section through the guidelines that apply to your app category, and record what you checked and what you found, not just a pass/fail. Our sample compliance report shows what this output looks like in practice: a structured, guideline-referenced pass you can run through before every submission, not just your first one. Once you've cleared TestFlight functionally and closed out this manual pass, you're submitting with actual evidence you're clean — not just a hunch that nothing broke in beta.
Common Mistakes That Get Apps Rejected After a Clean TestFlight Run
A clean TestFlight run tells you the app doesn't crash. It says nothing about whether the App Store listing matches what reviewers see when they open the binary. Every rejection pattern below happened to a build that passed weeks of internal testing.
Shipping the TestFlight build's old metadata
The most common failure: a developer iterates through several TestFlight builds, fixing bugs testers flag. Somewhere in that cycle, the app's feature set shifts — a paywall moves, a permission gets added, a screen gets cut. The binary changes but the App Store description, keywords, and "What's New" text don't. Apple reviews the listing against the binary under guideline 2.3 (Accurate Metadata), and a mismatch — claiming a feature the build doesn't have, or an IAP tier that changed price — is grounds for rejection regardless of how stable the app is. TestFlight has no concept of your App Store listing at all; it only distributes the binary. Before you submit, read your own description and screenshots as if you were a reviewer meeting the app for the first time, and check them against the actual build, not the build from three iterations ago.
Forgetting screenshots for required device sizes
Teams testing on their own iPhone in TestFlight often never touch an iPad, even though their app supports it. App Store Connect requires screenshots for every supported device size class, and a missing or stale set — showing an old UI, or missing the 13-inch iPad set entirely — triggers an automatic rejection before a human even opens the binary. This has nothing to do with app quality. It's a submission-completeness check, and TestFlight testing never exercises it because testers install directly, bypassing the listing entirely.
Assuming testers would have flagged a policy issue
TestFlight testers are using the app, not reviewing it against the App Store Review Guidelines. They won't notice that your account deletion flow doesn't meet guideline 5.1.1(v), or that a permission prompt lacks the required usage-string specificity. A tester's job is "does this work for me," not "does this comply." Teams that treat a smooth beta as a proxy for review-readiness are conflating two entirely different checks — see what TestFlight actually tests versus what a reviewer is trained to catch.
Build Your Pre-Submission Checklist Before Your Next Upload
TestFlight and App Review check different things, and treating them as one pipeline is what produces "it worked in beta" rejections. Run two tracks before every submission: TestFlight for functionality — does the app work, does it crash, do real users hit the flows you expect — and a separate, guideline-mapped checklist for compliance — does the metadata match the binary, is every required screenshot present, does privacy disclosure line up with what the app actually collects.
The functionality track you already have if you've followed turning TestFlight feedback into a pre-submission checklist. The compliance track is the one most indie teams skip, because it means sitting down with the App Store Review Guidelines and manually mapping each section — 2.3 accurate metadata, 5.1.1 data collection, 3.1.1 in-app purchase — against your specific app. That's real, unglamorous work, and it's easy to do half of it and assume you're covered.
You have two ways to get there. Build the checklist yourself: read the guidelines in full, note every clause that applies to your app's category and features, and check each one against your current build before every submission. It's free and it works, but it takes hours the first time and requires re-checking as guidelines update.
Or start from a ready-made one. The SubmitPreflight home page walks through the App Store Preflight Kit — a Markdown-first skill pack built specifically to catch the metadata, screenshot, privacy, and IAP-config gaps that TestFlight can't see, before you hit submit. It's not a replacement for testing your app; it's the other half of the process, the part that has nothing to do with whether the code works and everything to do with whether the submission matches Apple's rules. If you want a sense of what that check actually surfaces, the sample report shows real output against a real app.
Either way, don't submit off a clean TestFlight run alone. Pair it with a compliance pass, every time, and rejections after beta testing stop being a surprise.
Frequently asked questions
How long should I run TestFlight before submitting to the App Store?
There's no Apple-mandated minimum. For a new app, run internal testing for at least a few days and external testing (if you use it) for 1–2 weeks — long enough to catch crashes across device types and iOS versions. For minor updates, a few days of internal testing on 2-3 physical devices is often enough. The real signal isn't days elapsed, it's whether you've exercised every screen, permission prompt, and IAP flow without a crash.
Do I have to use TestFlight before submitting to the App Store?
No. TestFlight isn't required by App Review Guidelines — you can submit a build straight to review with zero external testers. But skipping it means Apple's reviewer is your first tester, and a crash on launch or a broken IAP flow during review often means a rejection instead of a quick fix. For anything beyond a trivial update, a short TestFlight pass catches issues cheaper than a rejection cycle does.
Can I submit the same build I used for TestFlight to the App Store?
Yes. A build uploaded via TestFlight is the same binary you can select for App Store submission in App Store Connect — no rebuild needed. Just confirm the build's version and build number match what you intend to ship, and that any TestFlight-only debug flags, mock endpoints, or feature flags are disabled before you pick it for release.
What's the difference between Beta App Review and full App Store Review?
Beta App Review (for external TestFlight testers) is a lighter pass — mainly checking the app launches, doesn't crash, and doesn't obviously violate guidelines on content or functionality. It usually clears in hours. Full App Store Review is the complete guideline check: metadata accuracy, privacy nutrition labels, IAP configuration, Sign in with Apple requirements, and design conventions under Guideline 4. Passing Beta Review is not a signal you'll pass full review.
Does TestFlight check for App Store Review Guideline compliance?
Not comprehensively. TestFlight's Beta App Review screens for crashes and basic policy violations, but it does not check your privacy nutrition label accuracy, metadata claims, screenshot content, or IAP restore/pricing setup — the things that cause most full-review rejections. Treat TestFlight as a stability and UX check, not a guidelines pre-clearance. You still need to audit metadata and privacy config separately before submitting.
How many TestFlight testers do I need before submitting?
There's no required count. Two or three testers covering different devices (older iPhone, current iPhone, different iOS versions) will surface most crash and layout bugs. If your app has account creation, payments, or permissions-heavy flows (camera, location, notifications), get testers to run through each of those paths at least once — that's more valuable than adding more testers who all take the same happy path.